Simple Authentication with AWS Cognito
Overview of Cognito

I was recently doing some work related to AWS Cognito, which I wasn't previously familiar with, and it turns out to be pretty interesting. Stackery has a cloud-based app for building and deploying serverless applications, and we use Cognito for our own authentication.
The thing I was trying to do was hard to figure out but easy once I figured it out, so I'll include some code snippets related to my specific use case. I'm assuming this is only interesting for people who are doing something similar, so it's partly a description of what we do and partly a HOW-TO guide for those who want to do similar things.
The Basics of Cognito Authentication
Cognito is Amazon's cloud solution for authentication -- if you're building an app that has users with passwords, you can depend on AWS to handle the tricky high-risk security stuff related to storing login credentials instead of doing it yourself. Pricing is based on your number of monthly active users, and the first 50k users are free. For apps I've worked on, we would have been very pleased to grow out of the free tier. It can also do social login, such as "log in with Facebook" and so forth.
Part of the problem I had getting started with Cognito is the number of different architectures and authentication flows that can be implemented. You can use it from a smartphone app or a web app, and you may want to talk to Cognito from the front end as well as the back end. And then security-related APIs tend to be complicated in general.
In our case, we wanted to create user accounts from a back-end NodeJS server and we needed to do sign-in from a mostly-static website. Ordinarily you'd do sign-in from some more structured javascript environment like React. It turns out not to be tricky, but the problem with not using React is that a lot of examples aren't applicable.
Developer's Guide to Cognito with Stackery
Stackery is a cloud-based app for building and deploying serverless applications – this guide covers how to set up authentication with Cognito and Stackery.
Setting Up The Cognito User Pool
We create user accounts programmatically from our API server, which talks to Cognito as an administrator. We also create a user record in our own database for the user at that time, so we want to control that process. As I implied above, we don't store user credentials ourselves. Our Cognito user pool is configured such that only admins can create users -- the users do not sign themselves up directly.
Setting up the Cognito User Pool is easy once you know what to do. The Cognito defaults are good for what we're doing; although we disable user sign-ups and set "Only allow administrators to create users". We have a single app client, although you could have more. When we create the app client, We do not ask Cognito to generate a client secret -- since we do login from a web page, there isn't a good way to keep secrets of this type.
We set "Enable sign-in API for server-based authentication", named ADMIN_NO_SRP_AUTH. ("SRP" here stands for "Secure Remote Password", which is a protocol in which a user can be authenticated by a remote server without sending their password over the network. It would be vital for doing authentication over an insecure network, but we don't need it.)
Assuming you're creating your own similar setup, you'll need to note your User Pool ID and App Client ID, which are used for every kind of subsequent operation.
The Cognito Public / Private Key Pair
Cognito also makes a public key available that is used later to verify that the client has successfully authenticated. Cognito uses RSA, which involves a public/private key pair. The private key is used to sign a content payload, which is given to the client (it's a JWT, JSON Web Token), and the client gives that JWT to the server in the header of its authenticated requests. Our API server uses the public key to verify that the JWT was signed with
the private key.
There are actually multiple public keys involved for whatever reason, but they're available from Cognito as a JWKS ("JSON Web Key Set"). To retrieve them you have to substitute your region and user pool ID and send a GET to this endpoint:
(https://cognito-idp.{region}.amazonaws.com/{userPoolId}/.well-known/jwks.json)
To get a user account created from the website, we send an unauthenticated POST to our API server's /accounts endpoint, where the request includes the user's particulars (name and email address) and plaintext password -- so this connection to the API server must obviously be over HTTPS. Our API server creates a user record in our database and uses the key as our own user ID. Then we use the Cognito admin API to create the user.
const AWS = require("aws-sdk");
const cognito = new AWS.CognitoIdentityServiceProvider();

// userId - our user record index key
// email - the new user's email address
// password - the new user's password
function createCognitoUser(userId, email, password) {
  let params = {
    UserPoolId: USER_POOL_ID, // From Cognito dashboard 'Pool Id'
    Username: userId,
    MessageAction: "SUPPRESS", // Do not send welcome email
    TemporaryPassword: password,
    UserAttributes: [
      {
        Name: "email",
        Value: email
      },
      {
        // Don't verify email addresses
        Name: "email_verified",
        Value: "true"
      }
    ]
  };

  return cognito
    .adminCreateUser(params)
    .promise()
    .then(data => {
      // We created the user above, but the password is marked as temporary.
      // We need to set the password again. Initiate an auth challenge to get
      // started.
      let params = {
        AuthFlow: "ADMIN_NO_SRP_AUTH",
        ClientId: USER_POOL_CLIENT_ID, // From Cognito dashboard, generated app client id
        UserPoolId: USER_POOL_ID,
        AuthParameters: {
          USERNAME: userId,
          PASSWORD: password
        }
      };
      return cognito.adminInitiateAuth(params).promise();
    })
    .then(data => {
      // We now have a proper challenge, set the password permanently.
      let challengeResponseData = {
        USERNAME: userId,
        NEW_PASSWORD: password
      };

      let params = {
        ChallengeName: "NEW_PASSWORD_REQUIRED",
        ClientId: USER_POOL_CLIENT_ID,
        UserPoolId: USER_POOL_ID,
        ChallengeResponses: challengeResponseData,
        Session: data.Session
      };
      return cognito.adminRespondToAuthChallenge(params).promise();
    })
    .catch(console.error);
}
Of course the server needs admin access to the user pool, which can be arranged by putting AWS credentials in environment variables or in a profile accessible to the server.
Cognito wants users to have an initial password that they must change when they first log in. We didn't want to do it that way, so during the server-side account creation process, while we have the user's plaintext password, we do an authentication and set the user's desired password as a permanent password at that time. Once that authentication completes, the user password is saved only in encrypted form in Cognito. The authentication process gives us a set of access and refresh tokens as a result, but we don't need them for anything on the server side.
Client Authentication
When the users later want to authenticate themselves, they do that directly with Cognito from a login web form, which requires no interaction with our API server. Our web page includes the Cognito client SDK bundle. You can read about it on NPM, where there's a download link:
Our web page uses "Use Case 4" described on that page, in which we call Cognito's authenticateUser() API to get a JWT access token. That JWT is sent to our API server with subsequent requests in the HTTP Authorization header.
Server Verification
The API server needs to verify that the client is actually authenticated, and it does this by decoding the JWT. It has the public key set that we downloaded as above, and we follow the verification process described here:
The link has a good explanation, so I won't repeat that.
One of the items in the JWT payload is the username, which allows us to look up our own user record for the authenticated user. And that's all there is to it. I hope this saves someone some time!
Connect Resources to User Pools With Two Clicks
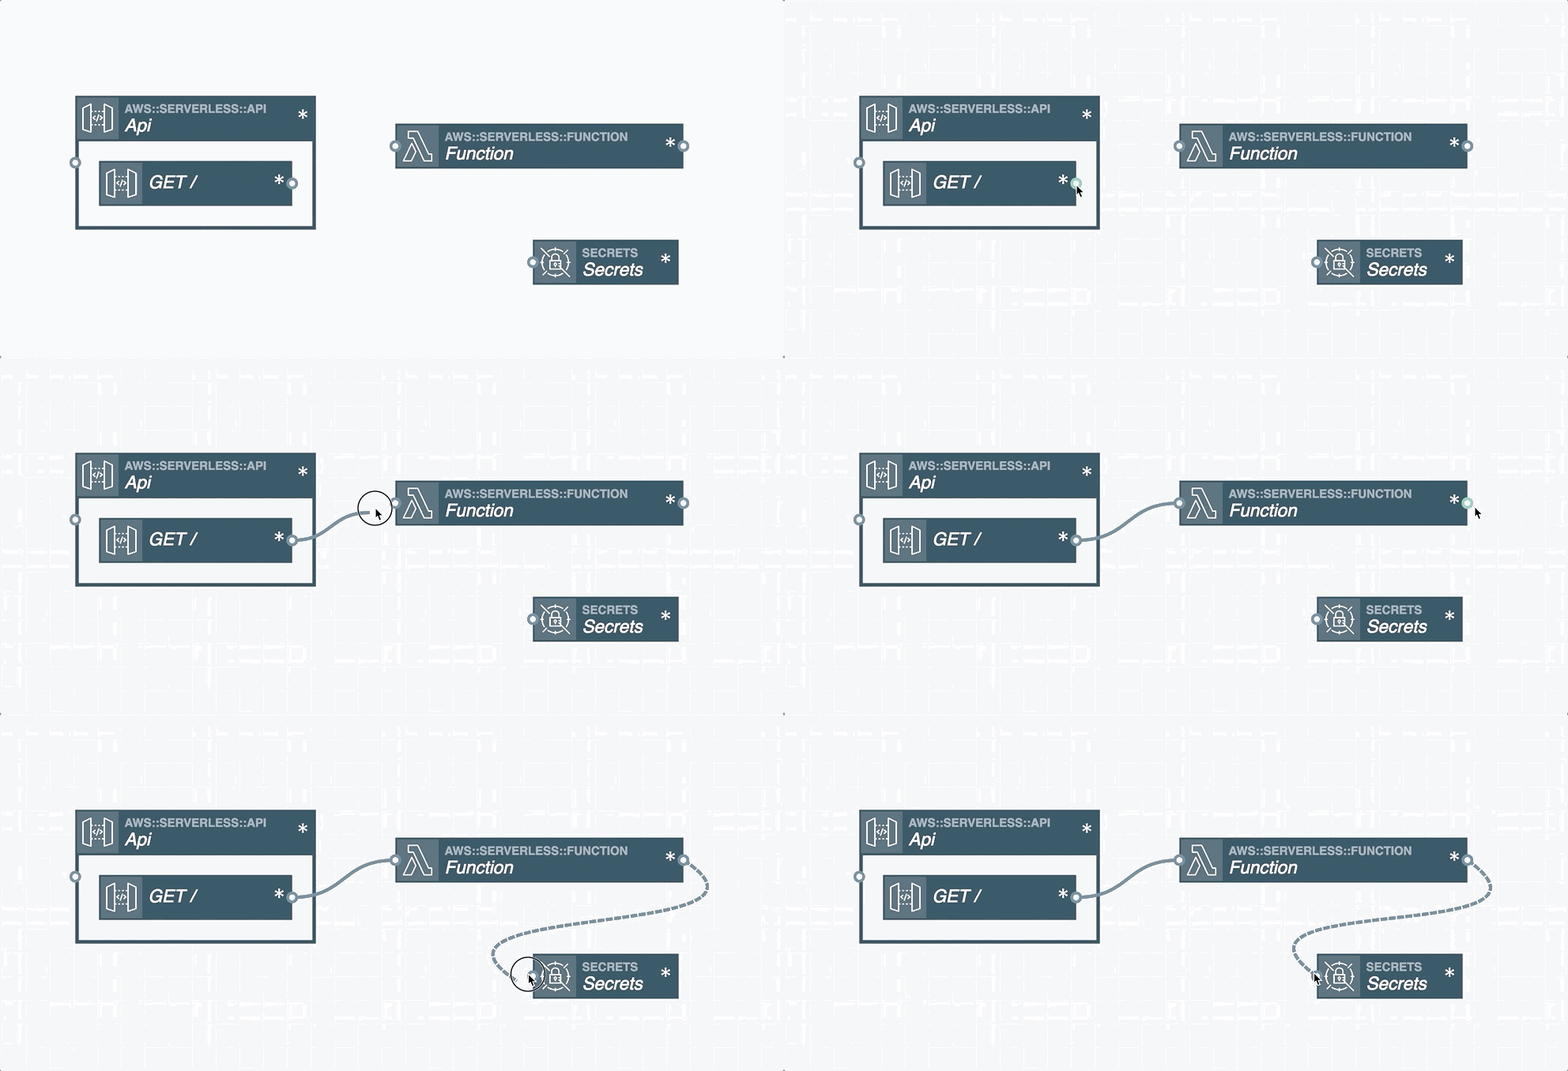
If you're interested in speedrunning the process of setting up a user pool, Stackery offers a visual tool that lets you plan a new stack with just a few clicks – connecting resources like your Cognito User Pool and User Pool Client are as simple as drawing a line.
Once you’re happy with your configuration, Stackery can push it to AWS by automatically creating the Serverless Application Model (SAM) template based on your diagram. Stackery's complete suite of tools makes it much easier to build and deploy stacks of serverless resources and you can get started for free.
Related posts

And how Stackery can help you put it into practice

